
Required Tools
- No tools required.
Time: 5 mins
Control Box Install
TURN OFF YOUR GAME – Game should always be turned off when connecting or disconnecting the control box.
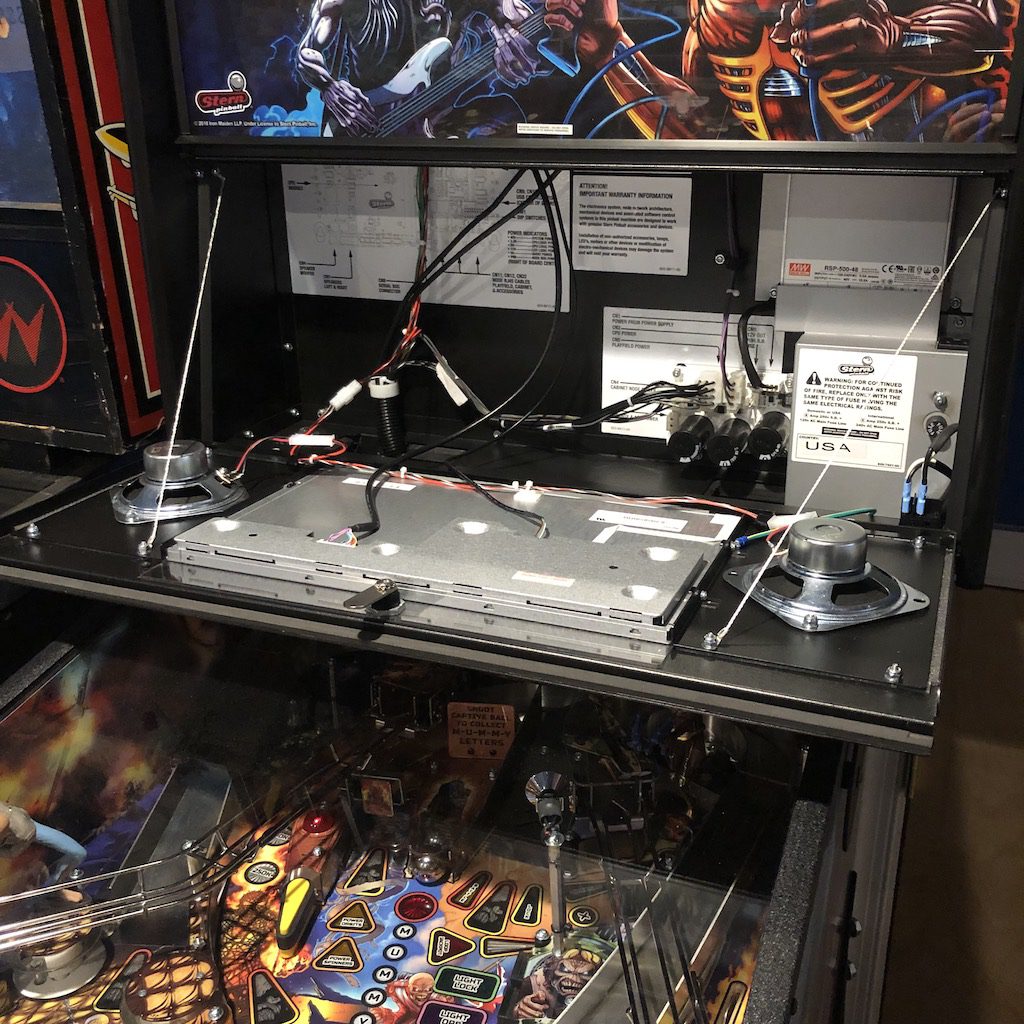
Open the speaker panel by inserting the back-box key and turning it. Lower the speaker panel down into the position shown above.
Power Install
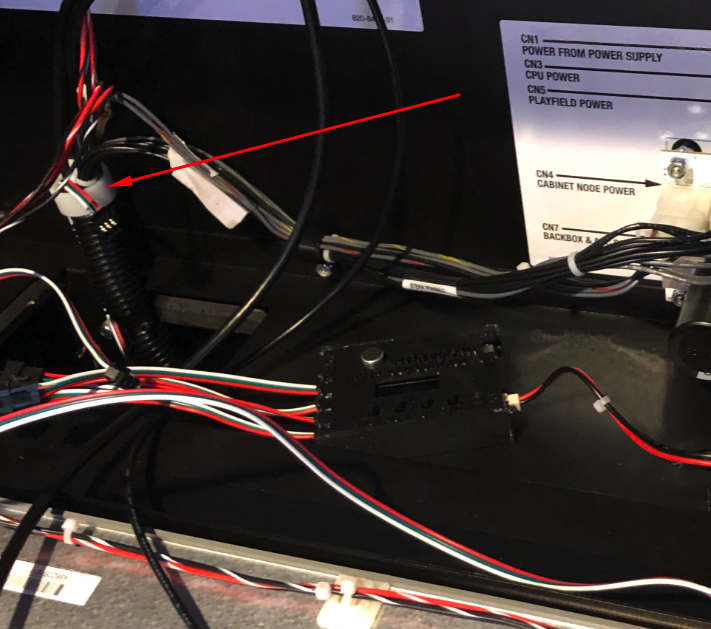
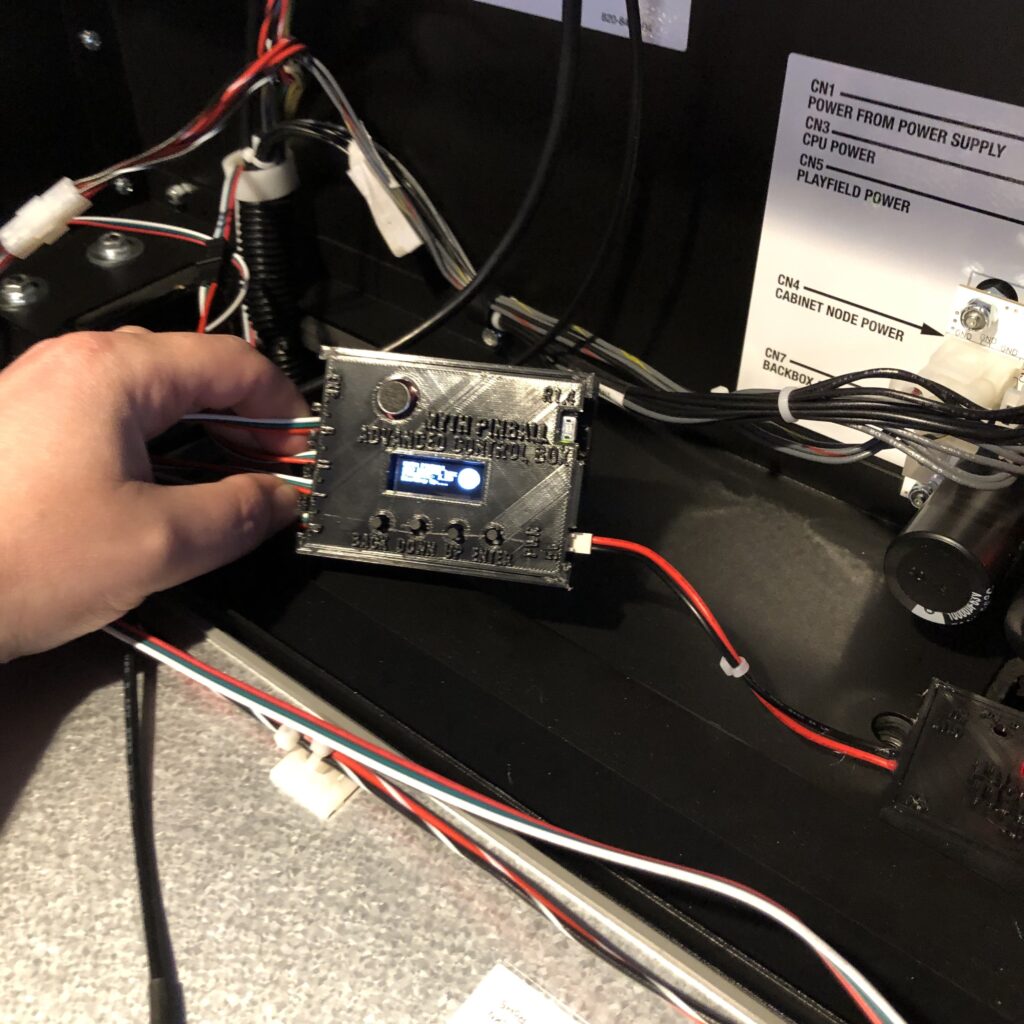
Locate your Spike 2 CN6 Power Module R2
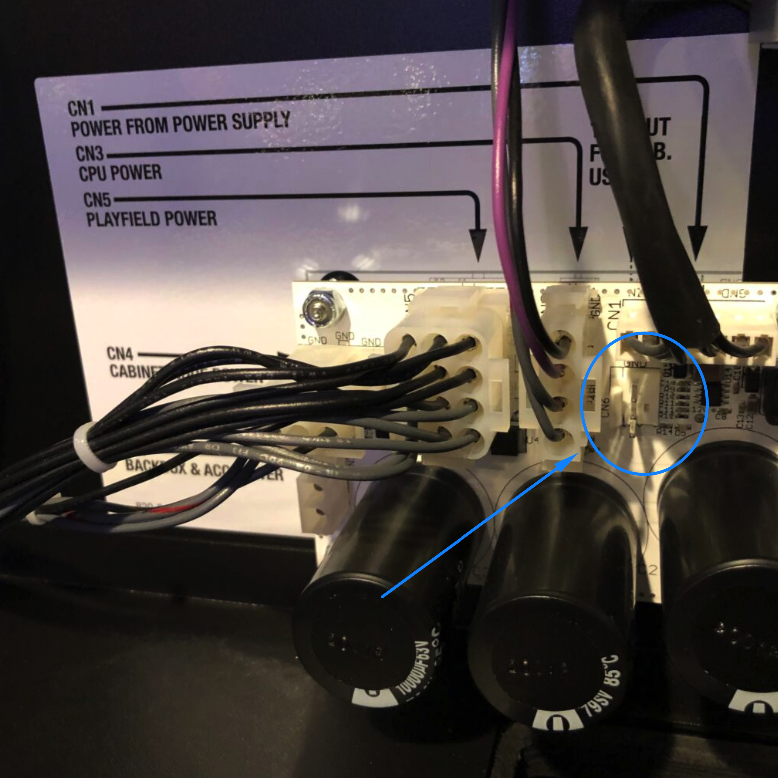
Locate the CN6 connector on the right side of your backbox. It is directly above the caps but below the CN1 connector.
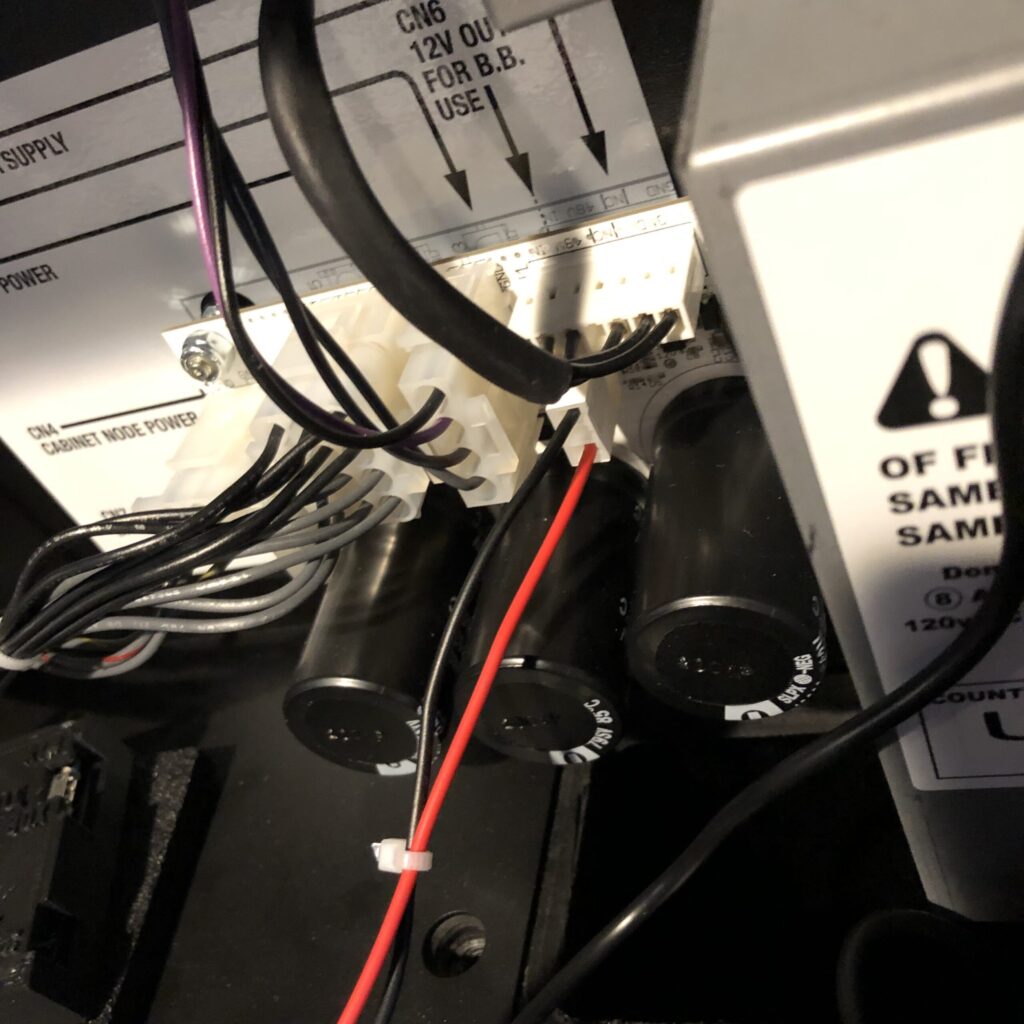
Connect the 3-pin CN6 connector from the control box.
NOTE: Be sure to connect this connector correctly and make sure it is across all 3 pins. Visually verify with a flashlight. If your control box has no power most likely this connector is connected one pin too high or too low.
NOTE: The RED wire will always be at the bottom. The color of the return wire may vary and will be either in the middle or top position of the connector.
Control Box Installation
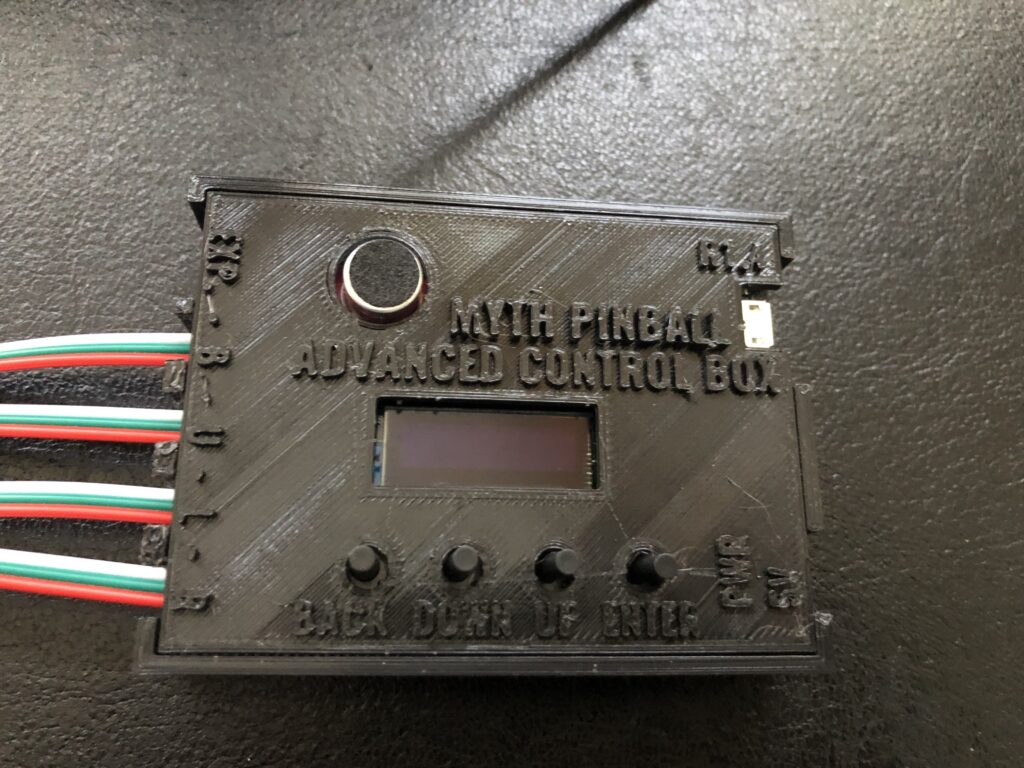
Locate your advanced control box.
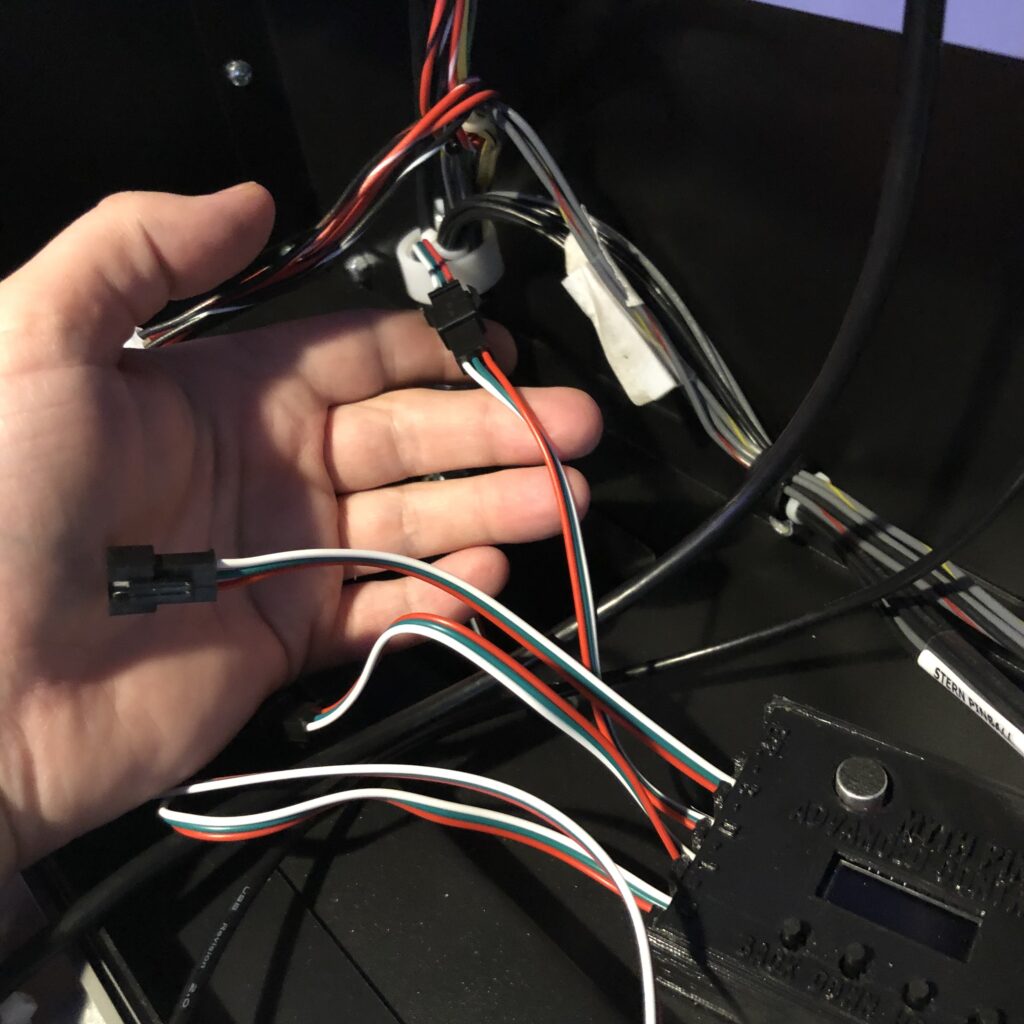
Connect your speaker cables, under-cabinet kit cables (if equipped) and back-box kit cables(if equipped) into the control box. Look at the labels on the control box to connect the cables to the correct connector.
| Label | Connect To |
| R | Right Speaker Frame |
| L | Left Speaker Frame |
| U | Under-Cabinet Light Kit |
| B | Backbox Light Kit (Not Released Yet) |
Note: When disconnecting the cables, be sure to press in the tab and grab the connector sides (not the wires) when pulling to disconnect.
Turn on your game and your control box should now boot up and you are up and running.
You are now all installed! See our guide on our support page on how to use the control box.