
Required Tools
- 1/4″ Nut Driver
Time: 15 mins
Preparation
TURN THE GAME OFF – Do not attempt to install this kit with the game powered on.
Remove the glass from the game.
Remove all the balls from the game and lift the playfield into the service position. See the game manual if you are unsure how to do this.
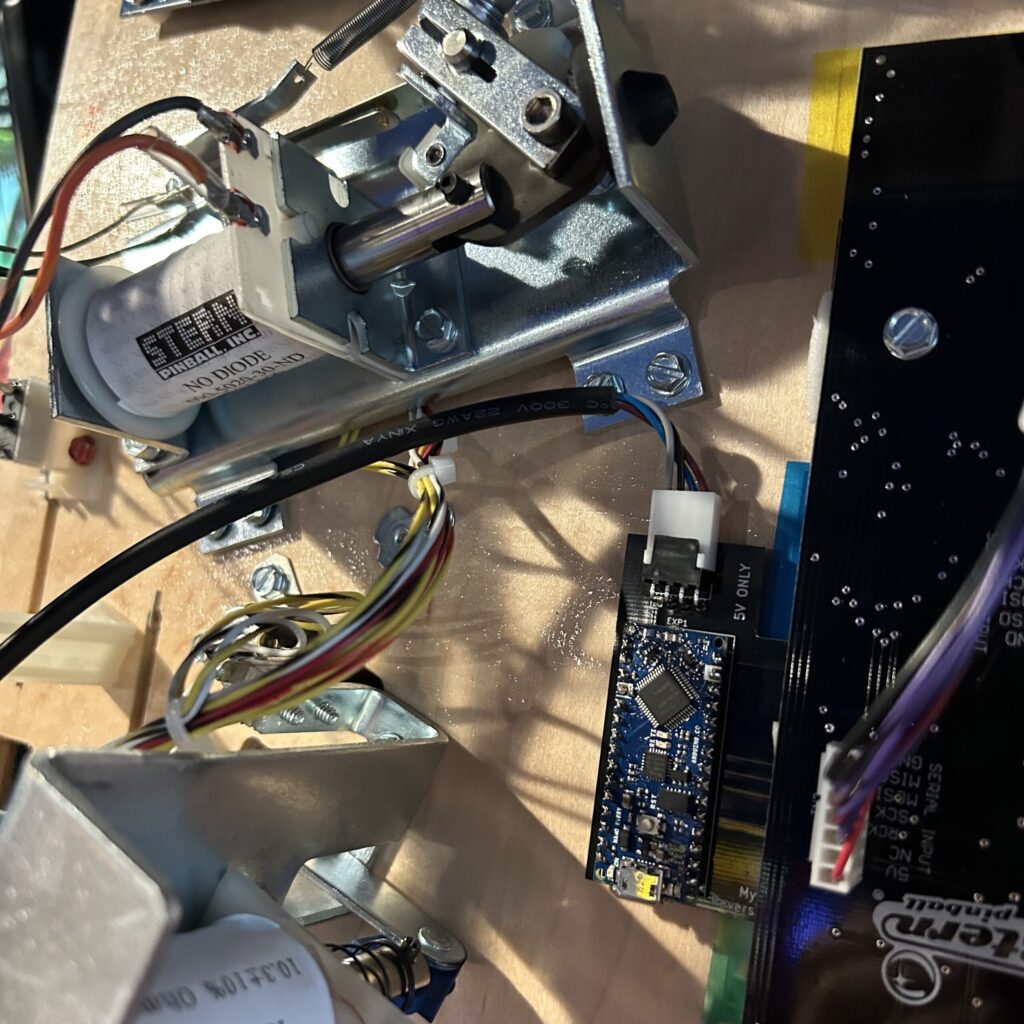
Install New Interactive Mode Sensing Board
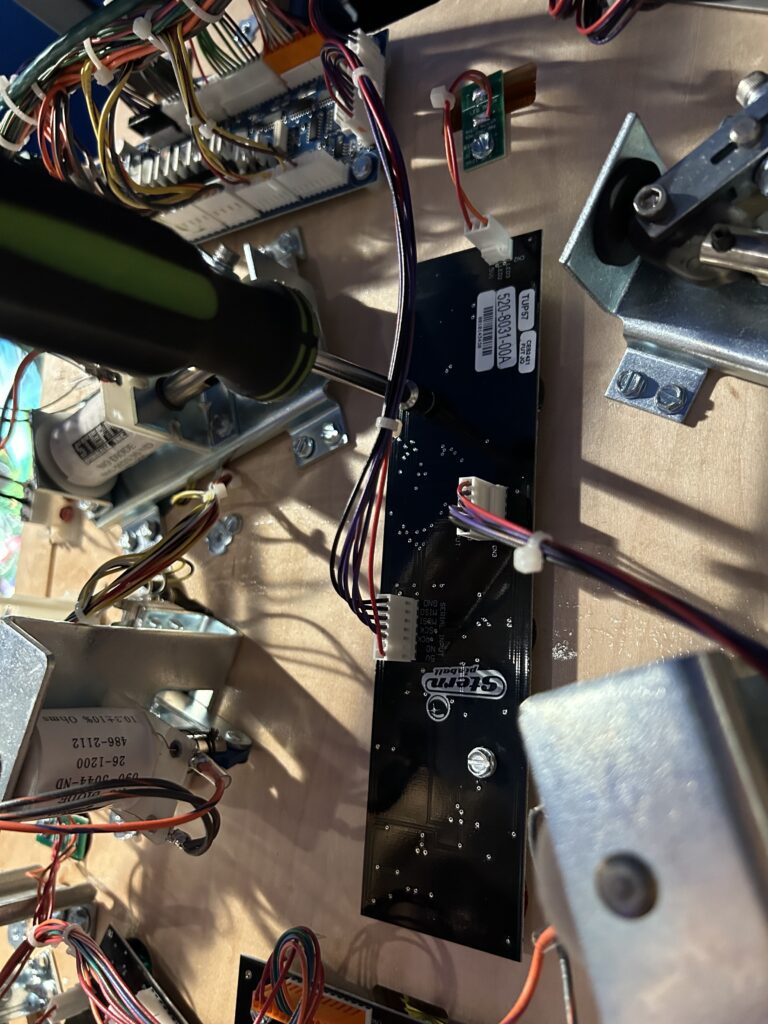
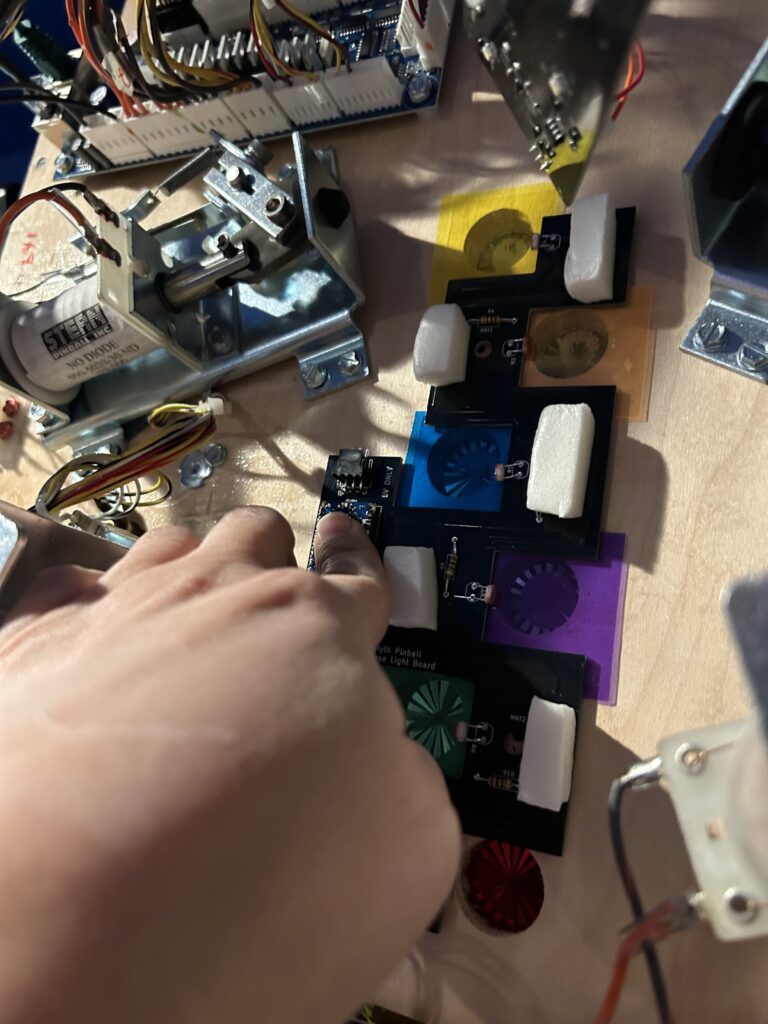
Locate the mode light board located between the two flippers in the game. Remove the two nuts that are holding on this light board.
The new light sensing board will be installed as shown above. Test lining it up with the screw holes in the game.
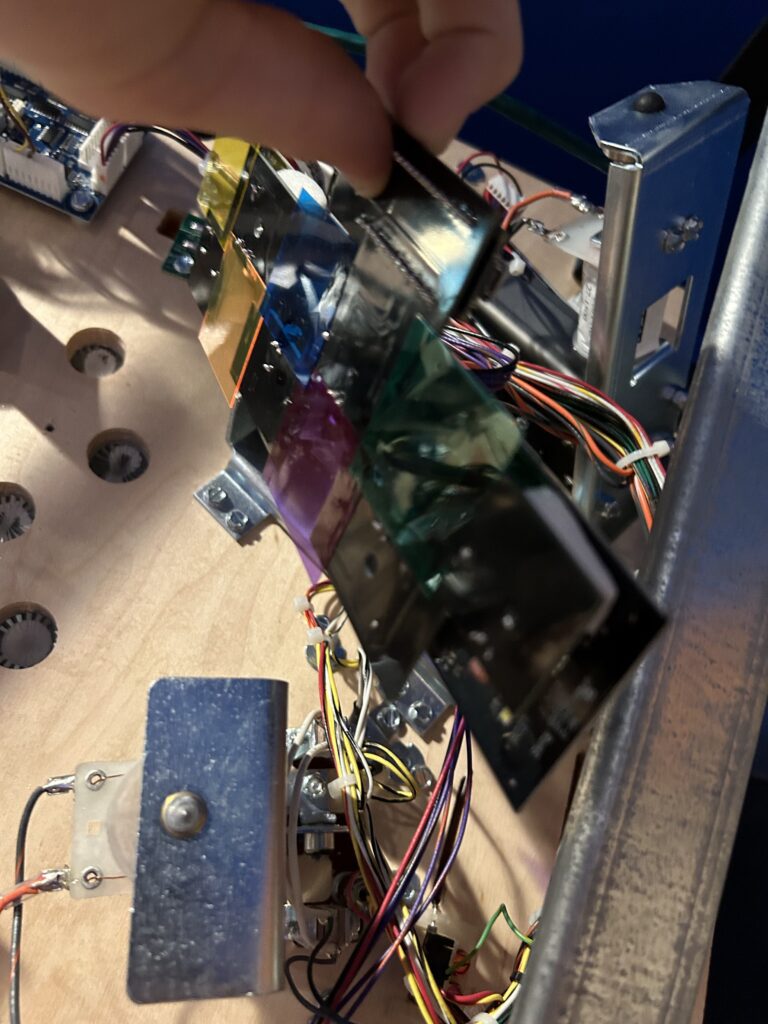
Place the light sensing board against the existing light board. Line up the screws through the holes in the two boards.

Should look as shown above.
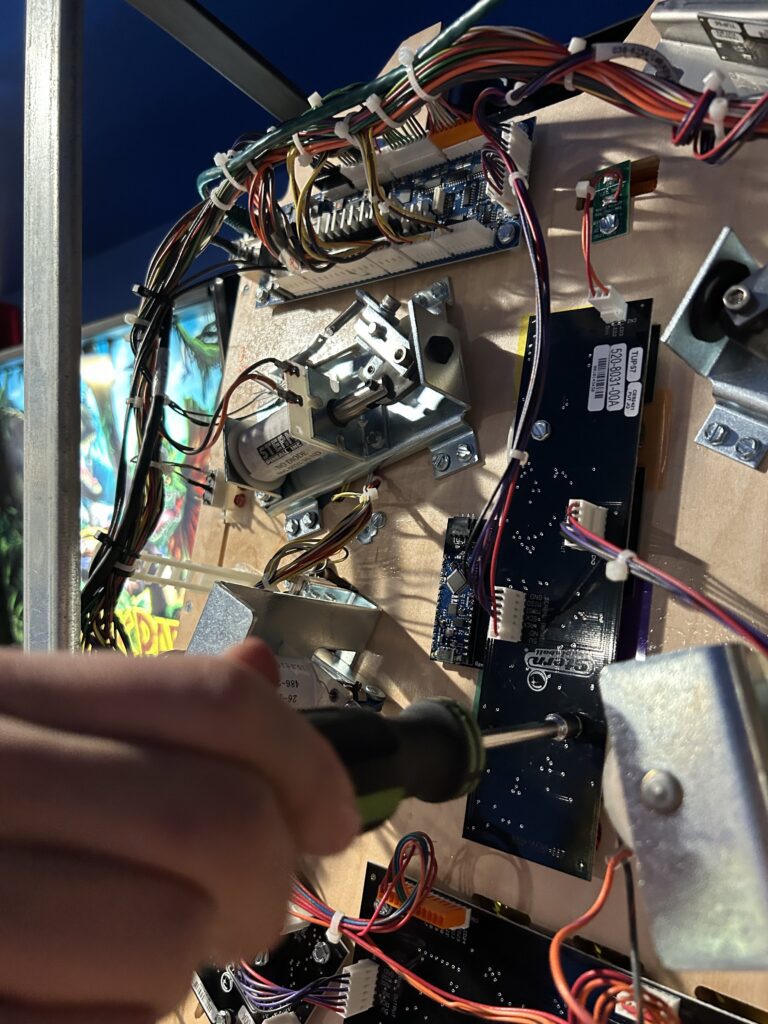
Line up the screw holes and screw into the game. There is no need to over-tighten, just make sure the board is snug.
Install Serial Cable
Clip one end of the serial cable carefully onto the interactive board. Make sure it is seated firmly.
Route the cable away from any coils and mechanisms.
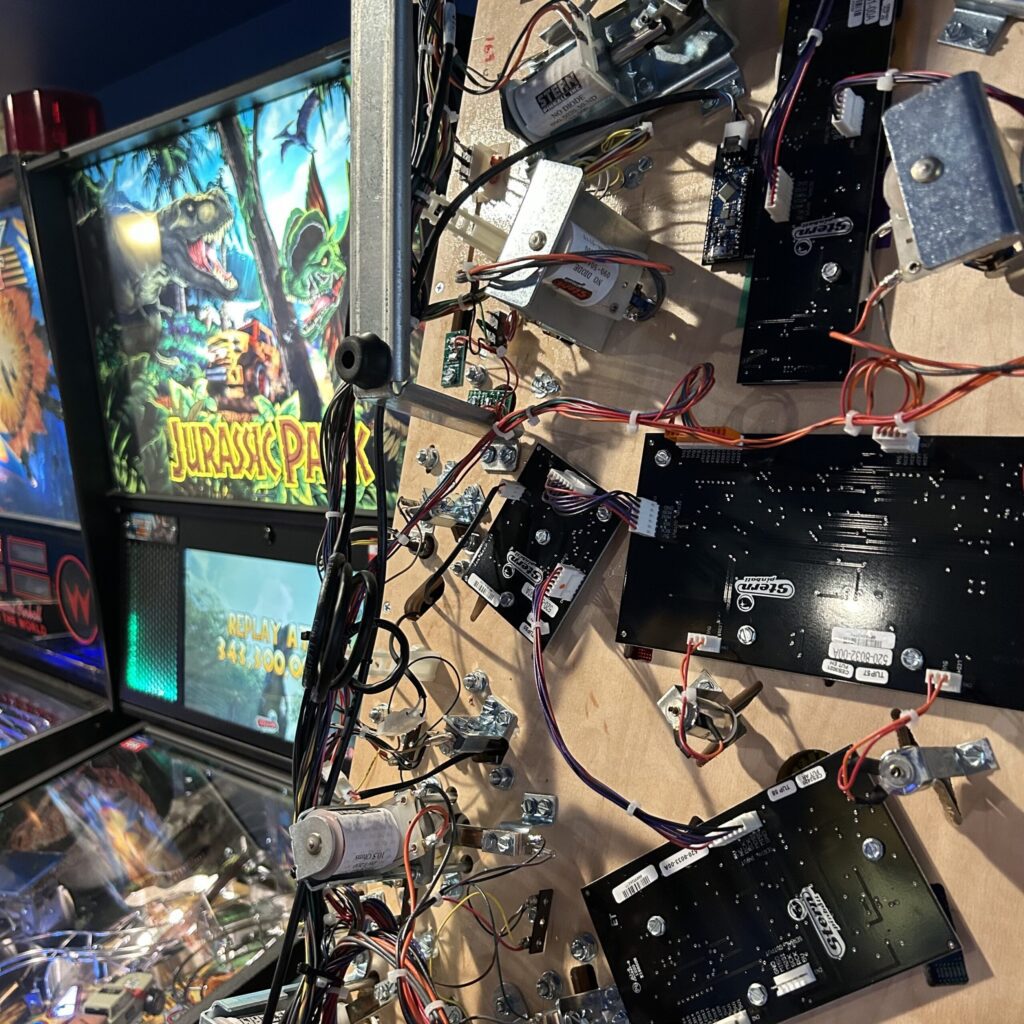
Use zip ties to tie the wire along the outer wire path as you see above.
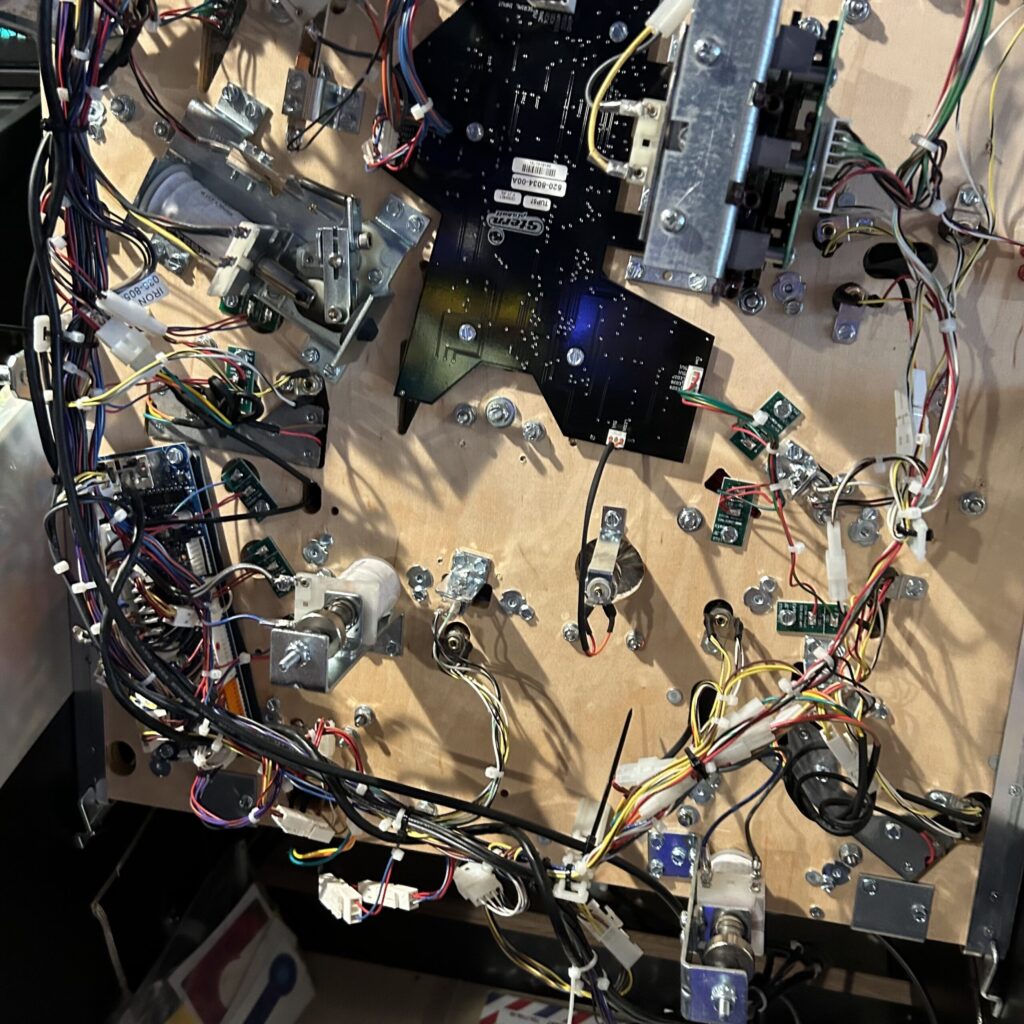
Route the wire along the main wire path to the bottom white cable standoff. Zip tie along this path.
Tilt the playfield forward and route the cable through the left hole up to the head and clip into the white clip.
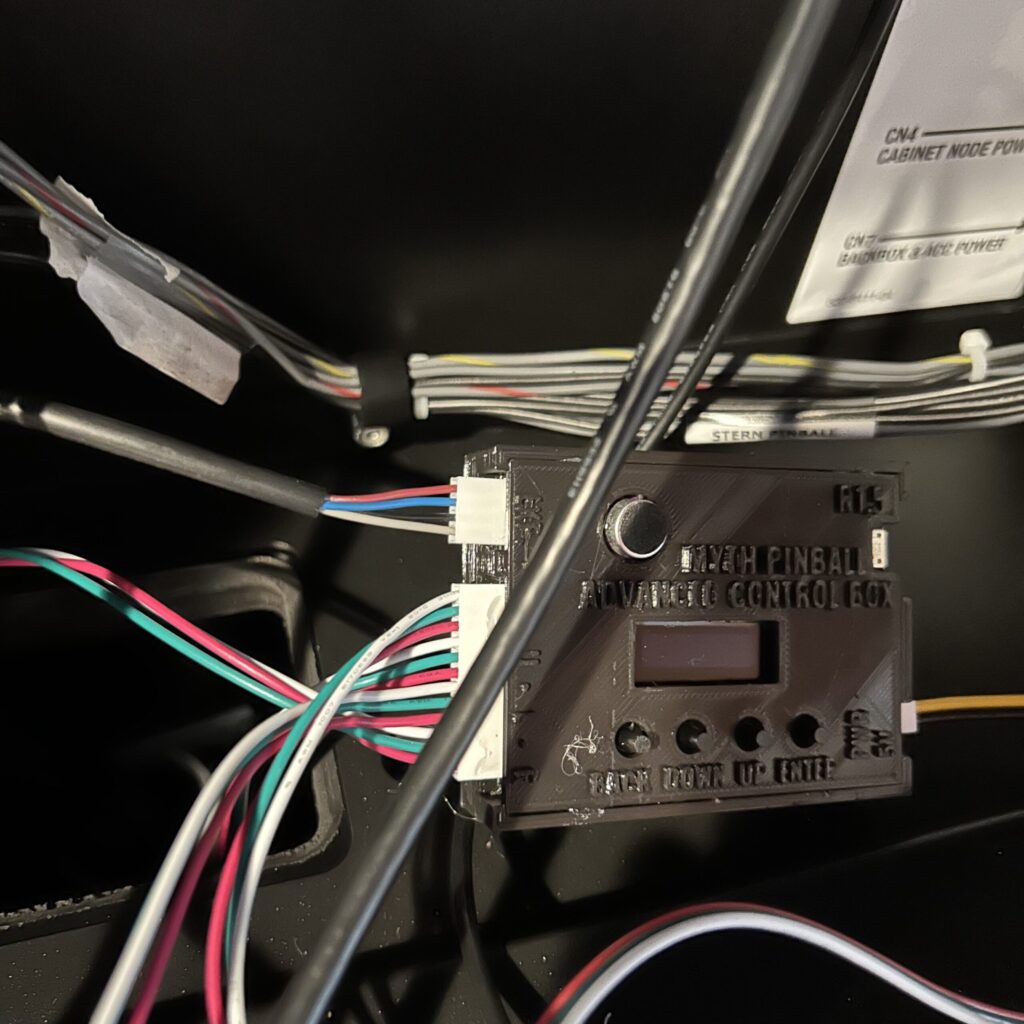
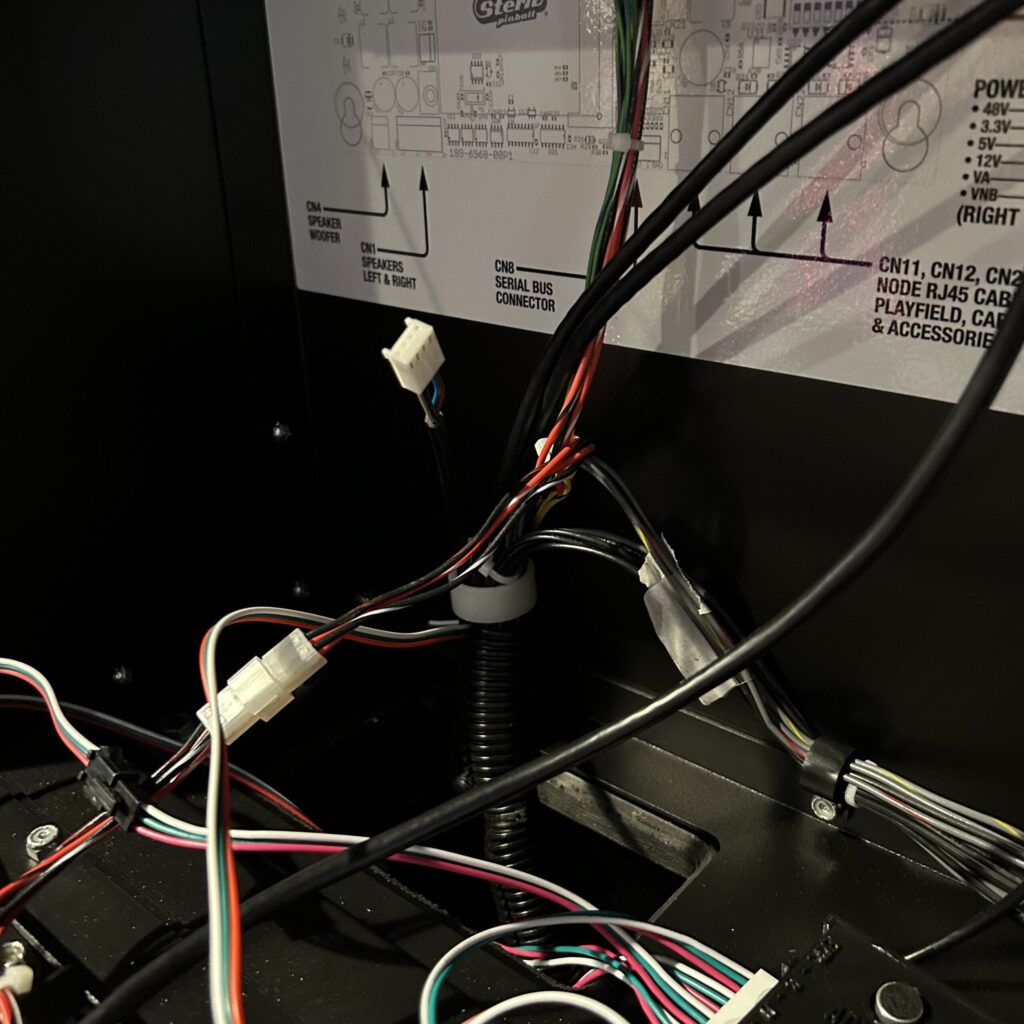
Plug in the other end of the serial cable to the EXP port on the control box. Make sure it is connected securely.
Software Update
Use of the Iron Maiden interactive kit requires software version 2.11 and up. If you require this software version, please contact us.