
Required Tools
- No tools required.
Time: 5 mins
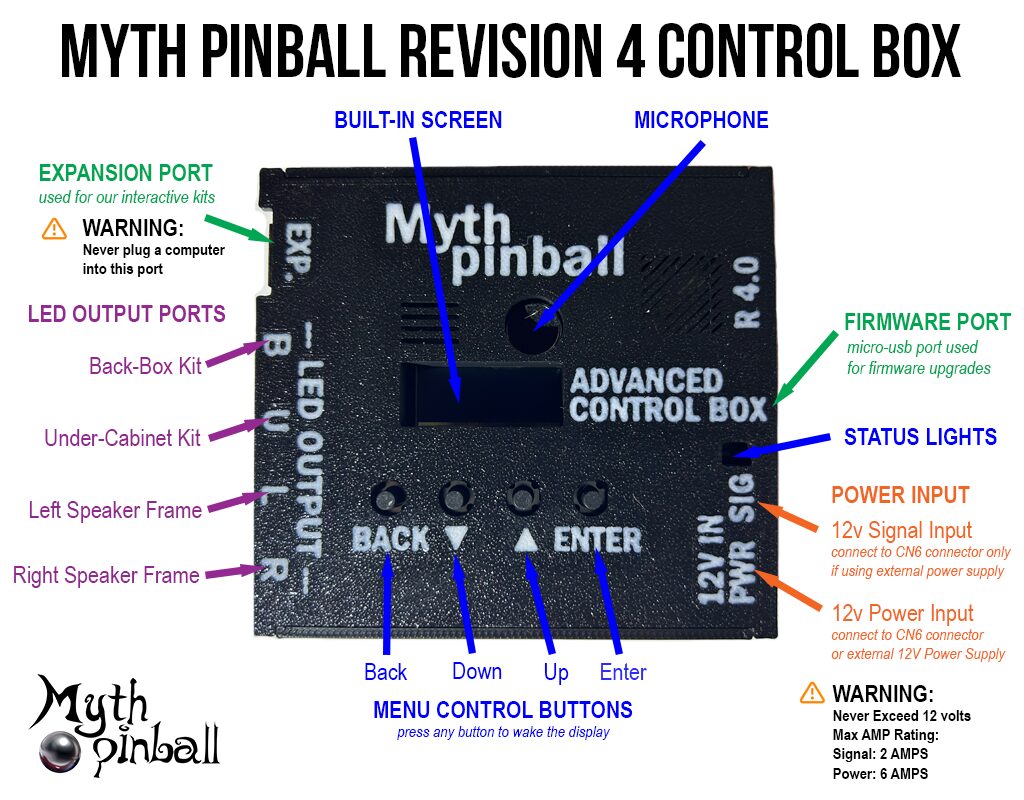
About Control Box R4.0
Does your control box not look like the above?
Then you might have a different revision control box. Go back to our instructions page and find install instructions for your particular box.
Control Box Packaging
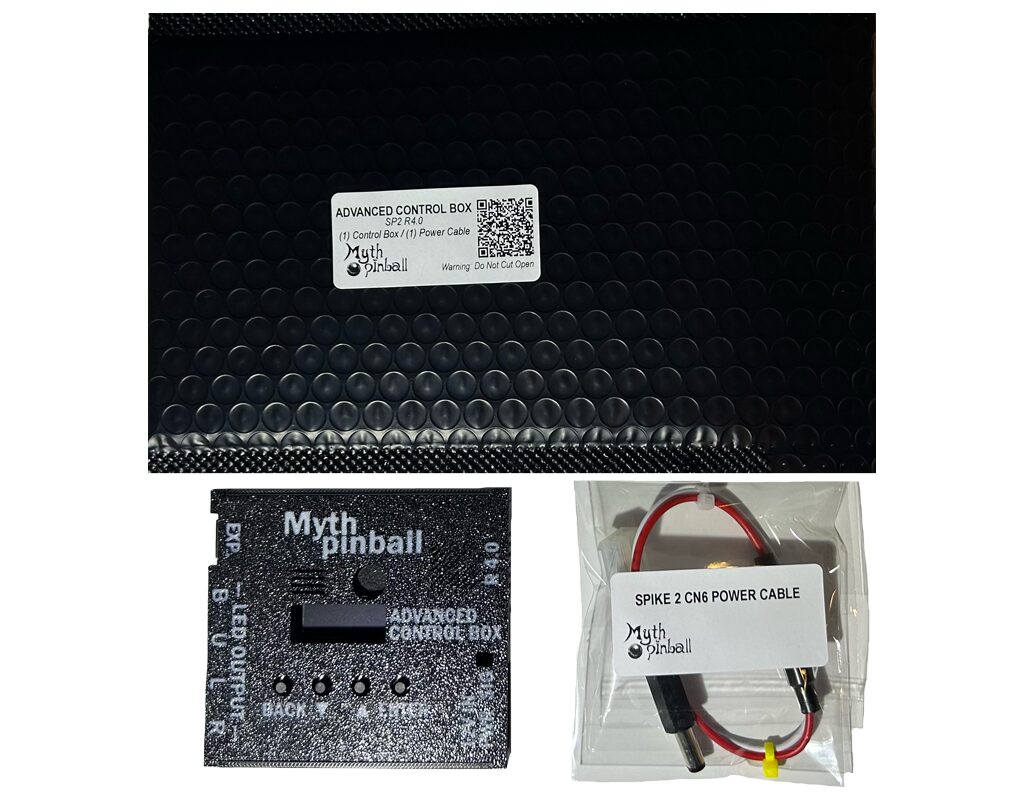
Locate your control box package and open it up. Inside you will find the control box and a Spike 2 CN6 power cable.
Prepare Your Game
TURN OFF YOUR GAME – Game should always be turned off when connecting or disconnecting the control box.
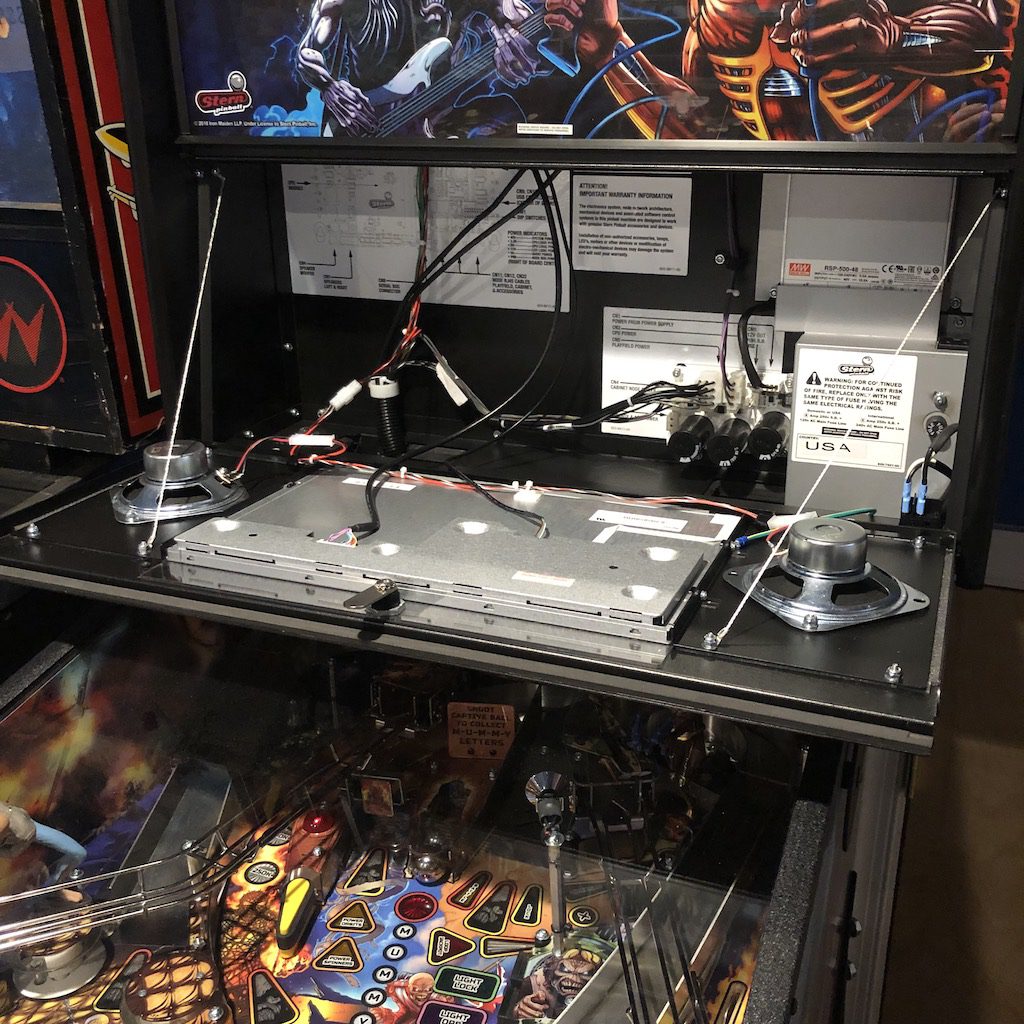
Open the speaker panel by inserting the back-box key and turning it. Lower the speaker panel down into the position shown above.
Install CN6 Power Connector
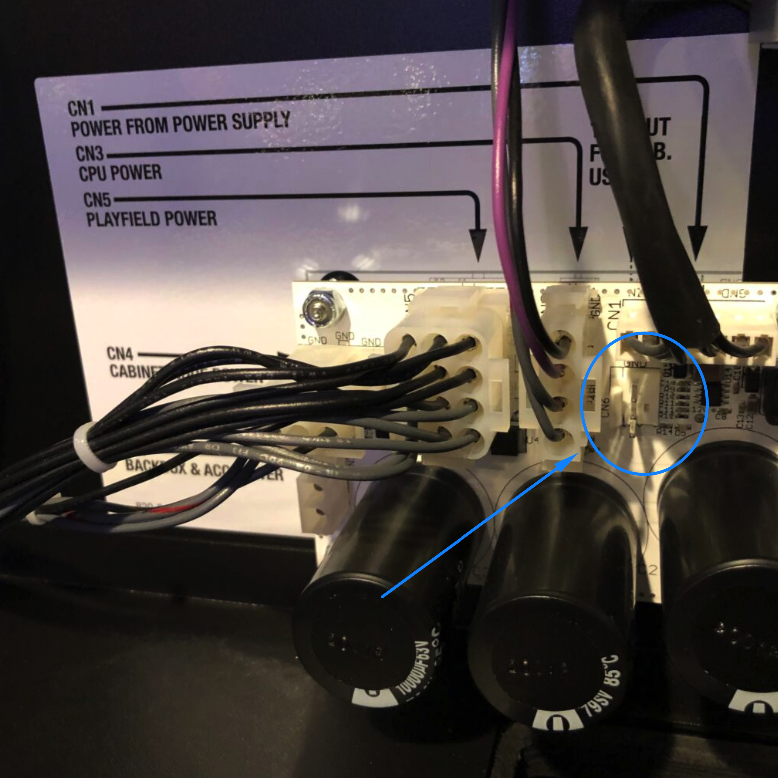
Locate the CN6 connector on the right side of your backbox. It is directly above the caps but below the CN1 connector.
Connect the 3-pin CN6 connector from the CN6 power cable.
NOTE: Be sure to connect this connector correctly and make sure it is across all 3 pins. Visually verify with a flashlight. If your control box has no power most likely this connector is connected one pin too high or too low.
NOTE: The RED wire will always be at the bottom. The color of the return wire may vary and will be either in the middle or top position of the connector.
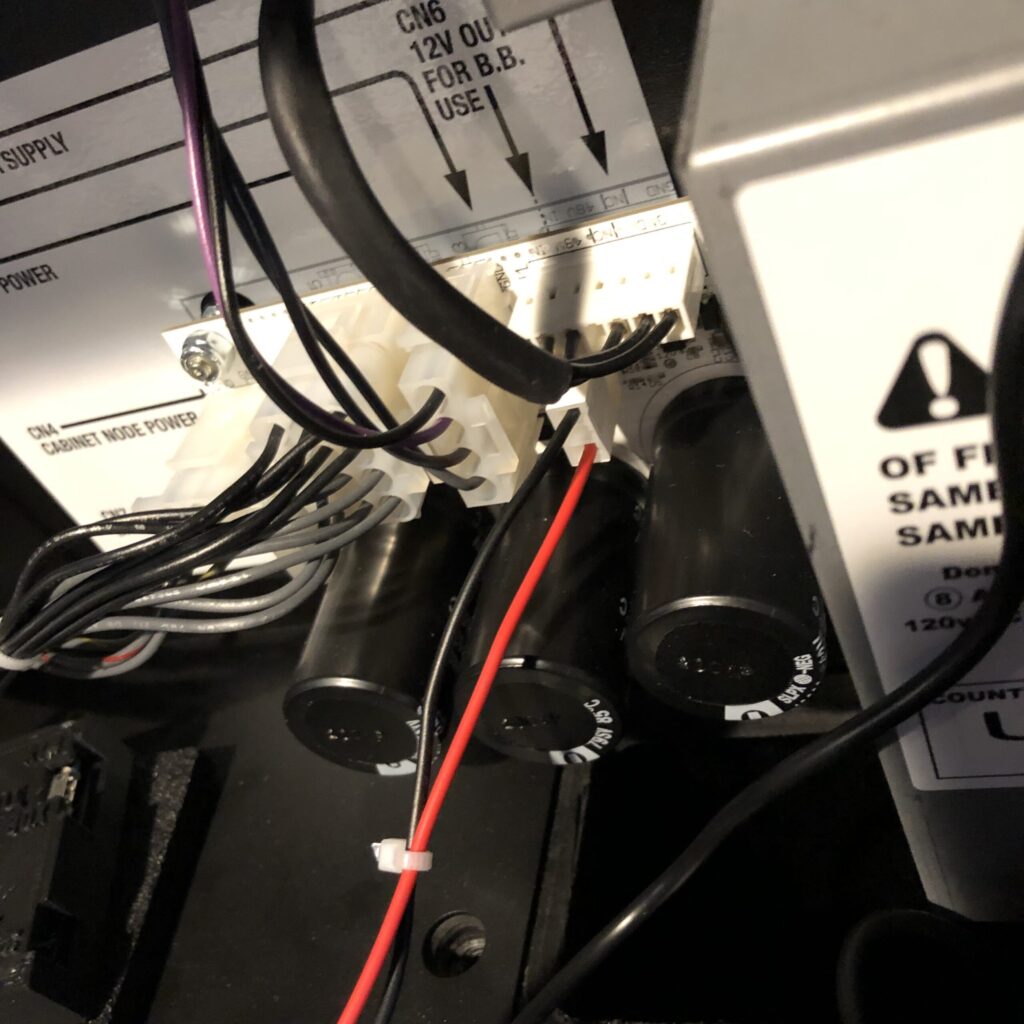
Control Box Power Input
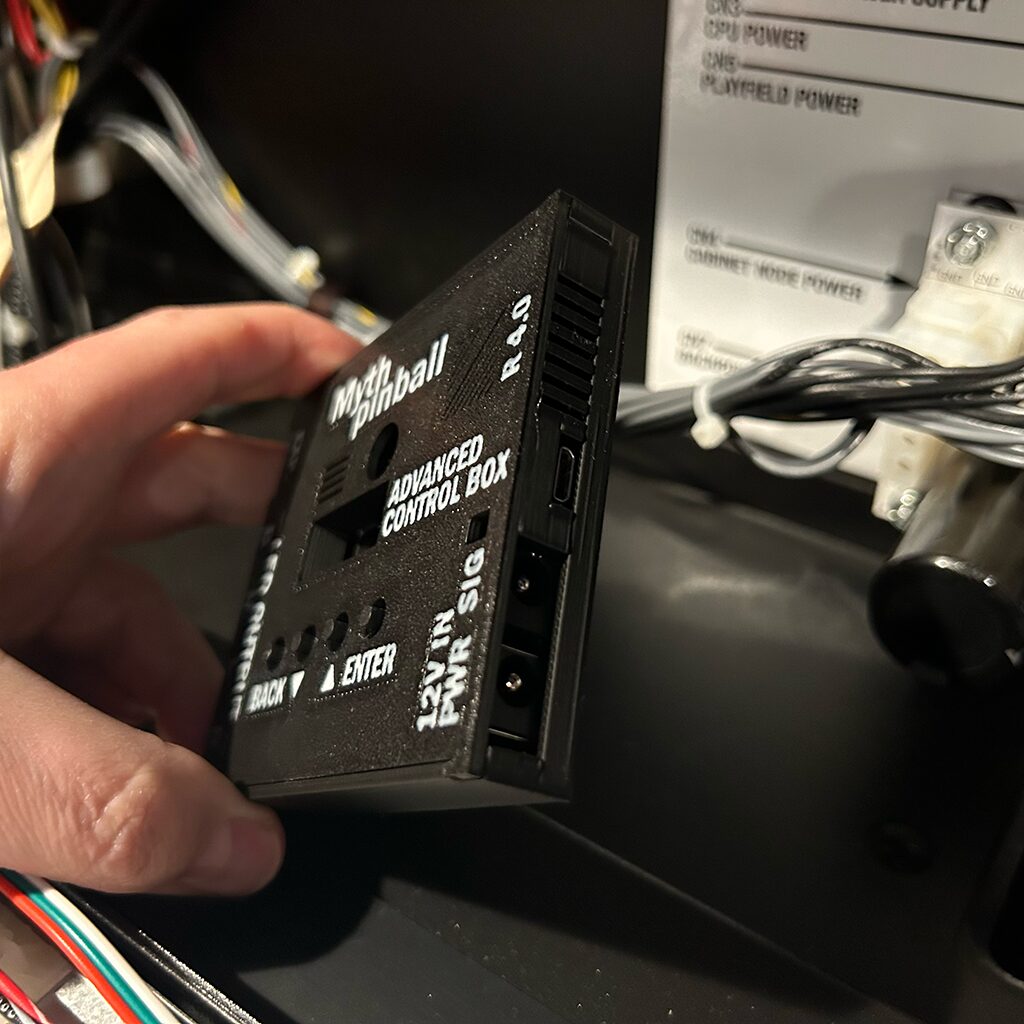
Locate your advanced control box and 12V Power IN connectors
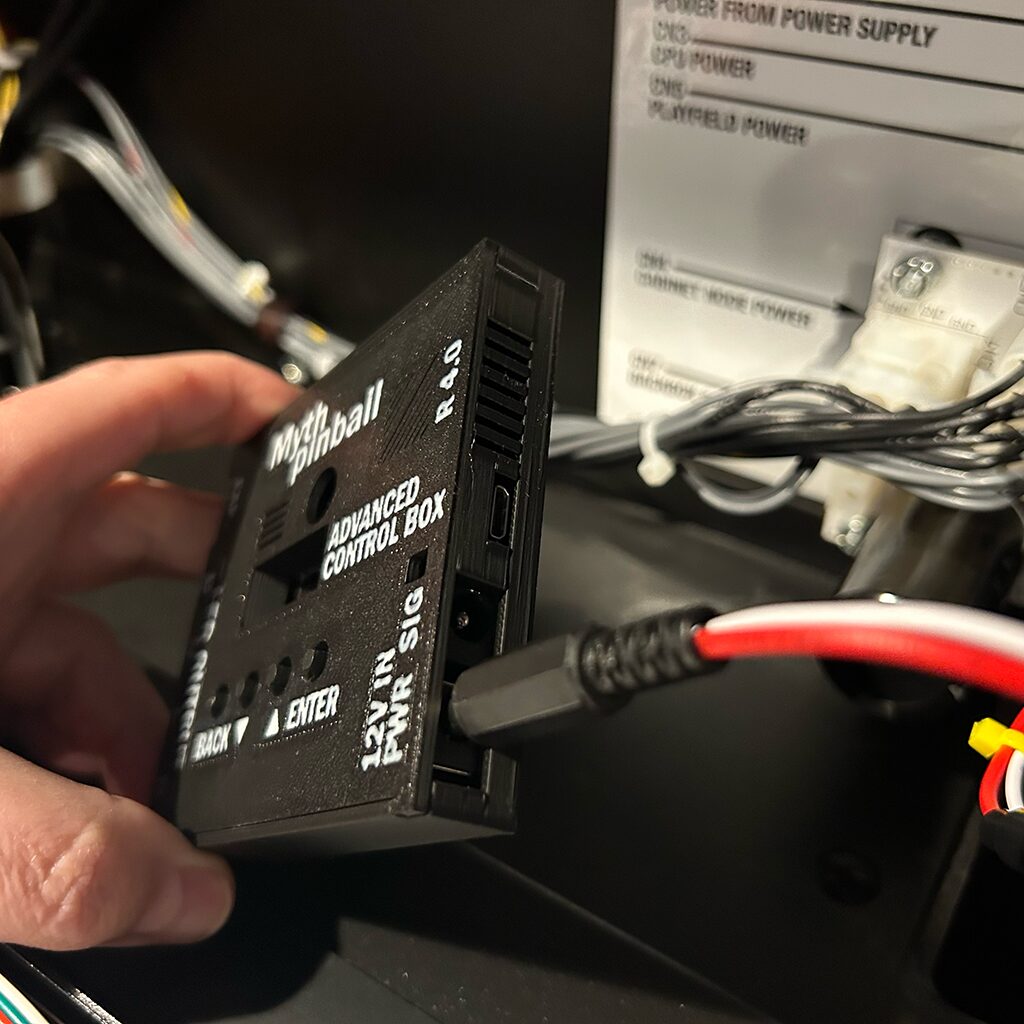
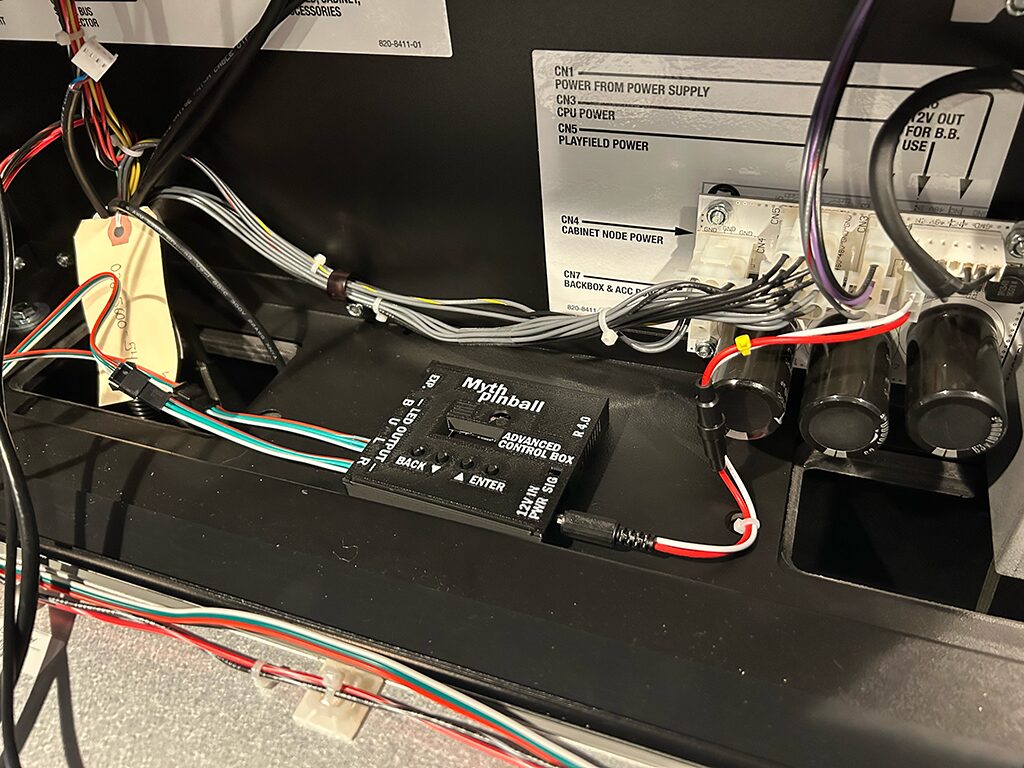
Plug in the CN6 power plug into the 12V PWR in plug on the control box.
NOTE: Do not plug into the SIG (Signal) plug which is located right above, or the control box will not turn on. This will be used for our upcoming back-box kits.
Connect LED Outputs
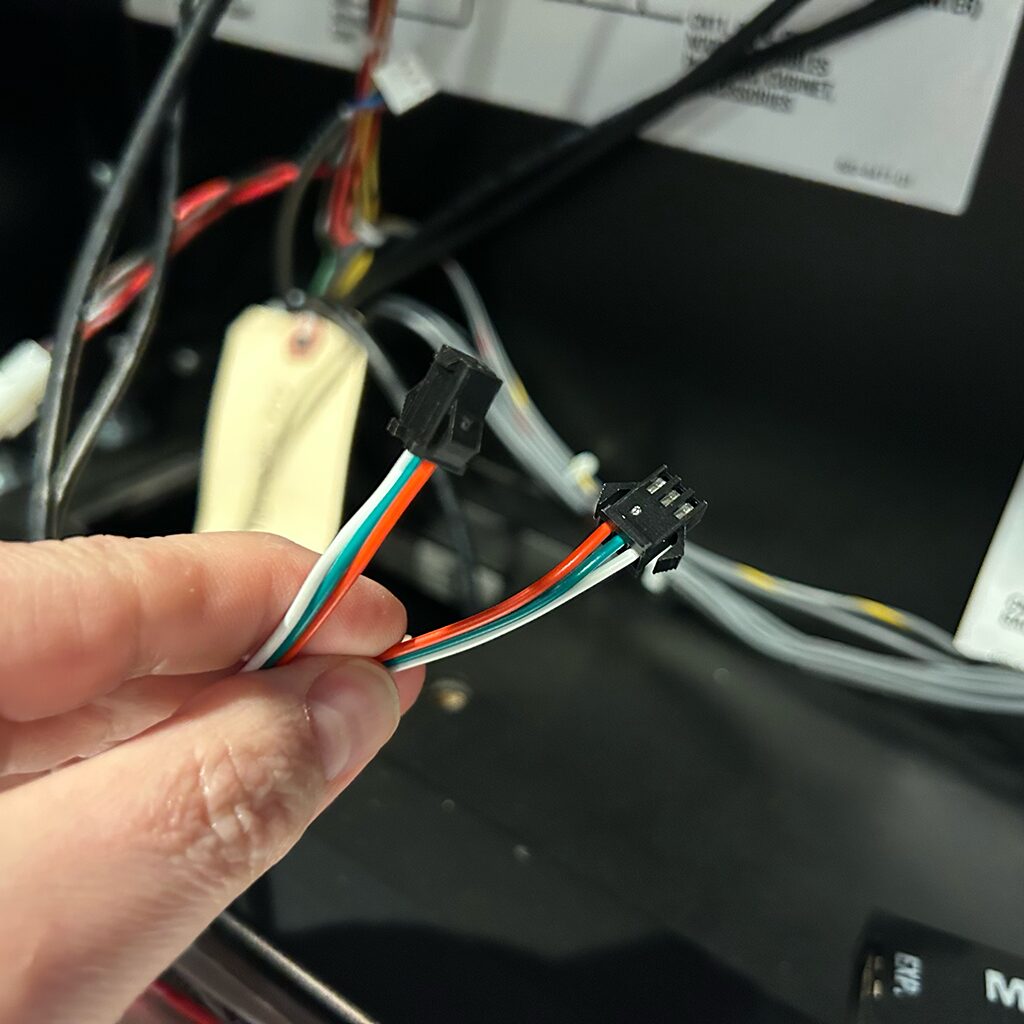
If your LED cables have black square connectors, you will first need to install adapters before connecting to the control box.
These connectors will be provided with the devices you are trying to connect (speaker frames or under-cabinet kits).
If your devices have a white 3-pin connector, you can skip this step and connect them directly to the control box.
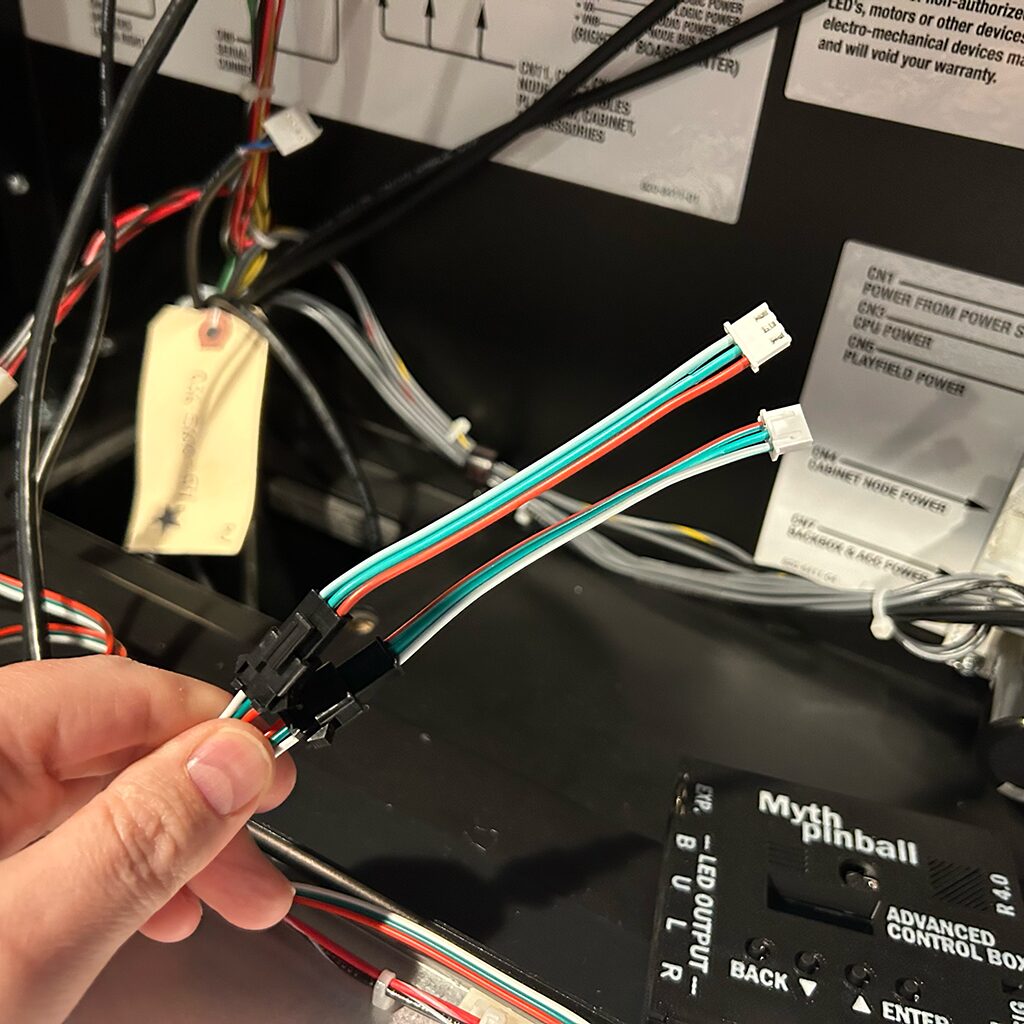
Install the adapters by clicking the black side onto the LED wires. Make sure they are firmly seated by gently pulling on them to make sure they do not separate.
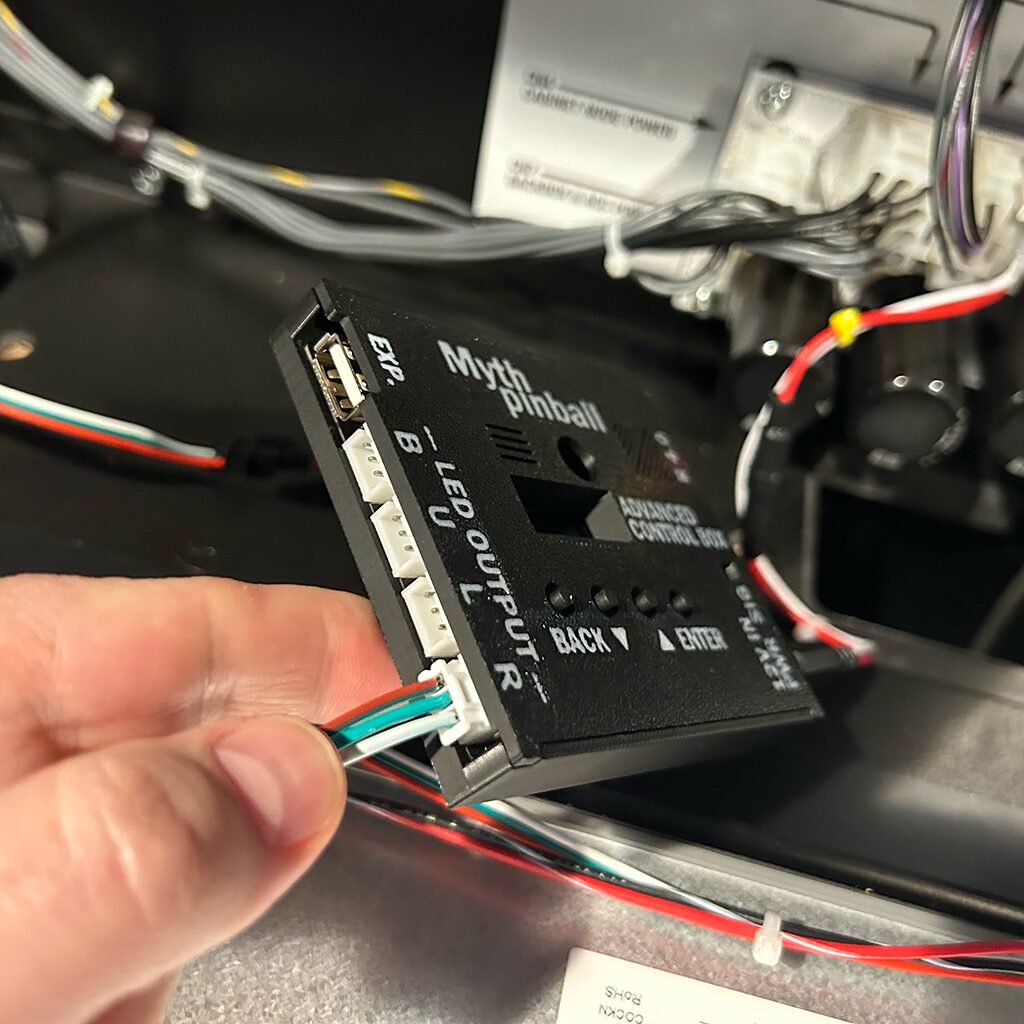
Connect your speaker cables, under-cabinet kit cables (if equipped) and back-box kit cables(if equipped) into the control box. Look at the labels on the control box to connect the cables to the correct connector.
| Label | Connect To |
| R | Right Speaker Frame |
| L | Left Speaker Frame |
| U | Under-Cabinet Light Kit |
| B | Backbox Light Kit (Not Released Yet) |
Note: When disconnecting the cables, be sure to grab the connector sides (not the wires) when pulling to disconnect.
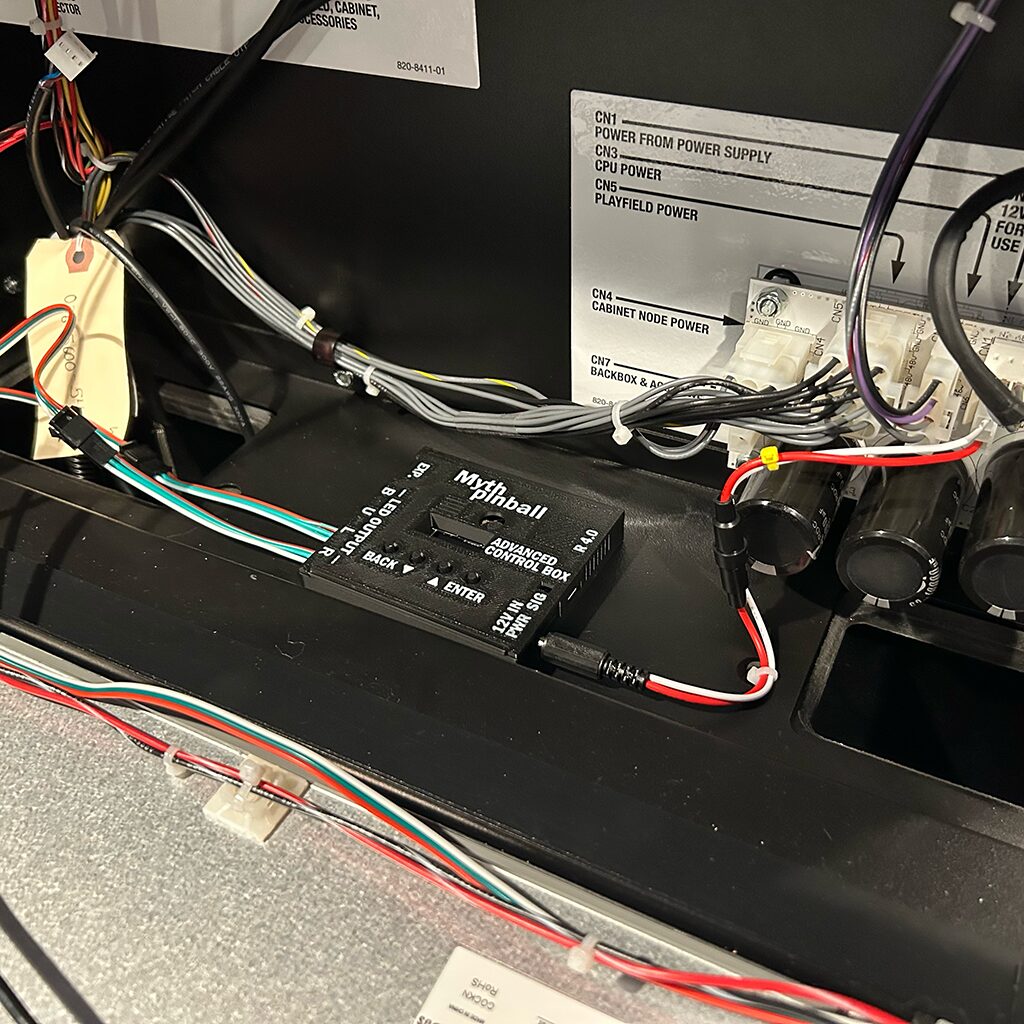
You can place the control box as shown inside your game. Alternative you can apply velcro or magnets to hold it in place.
Note: We recommend you remove the control box and attached cabling when moving the game or folding the head.
Turn on your game and your control box should now boot up and you are up and running. Press any button to wake the screen to access the menu.
Control Box Doesn’t Power Up?
Check to make sure the CN6 connector is aligned correctly, it is easy to install it one pin too high or too low. Also make sure the CN6 cable is connected to the PWR jack and not the SIG jack.
You are now all installed! See our guide on our support page on how to use the control box.